FL Studio Tutorial: Mastering FL Studio Techniques
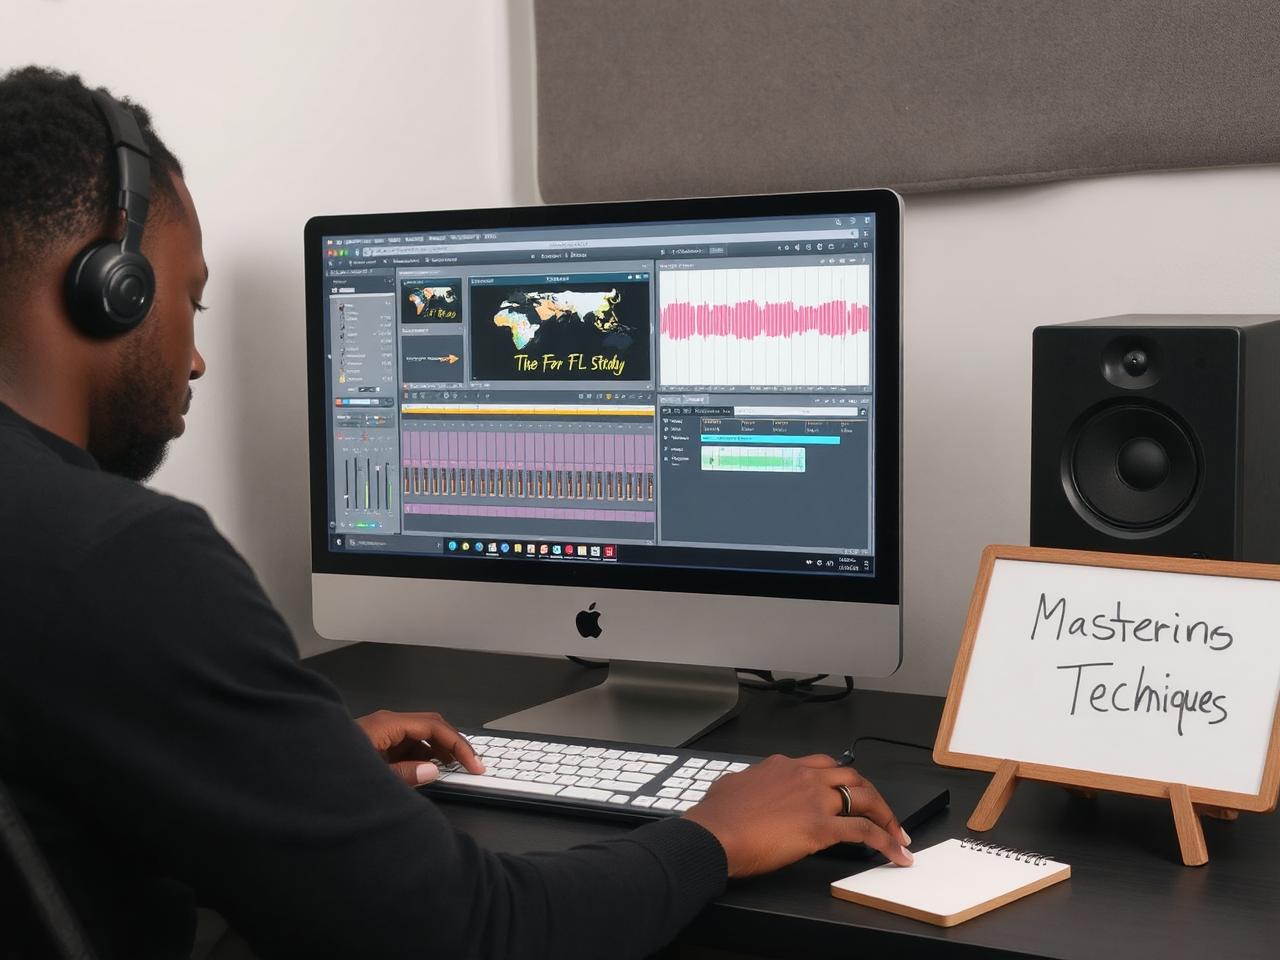
FL Studio is an amazing tool packed with features to help you create music like a pro. Whether you're new to the world of music production or you've been using FL Studio for a while, there's always something new to learn that can take your tracks to the next level. This guide is all about helping you get comfortable with FL Studio’s most useful techniques, so you can spend less time figuring things out and more time making music.
Getting Started with FL Studio: The Basics You Need to Know
Before we jump into the more advanced techniques, it’s important to have a solid understanding of FL Studio's basic layout and functionality. The interface can be intimidating at first, but once you get the hang of it, you'll realize how intuitive and user-friendly it can be.
The Main Sections of FL Studio
-
Channel Rack: This is where all your instruments and samples live. You can trigger sounds, load up instruments, and control their volume and effects here.
-
Playlist: This is where you arrange your tracks and create the overall structure of your song.
-
Mixer: The mixer is your go-to for mixing and adding effects to your sounds. You can adjust volumes, panning, EQ, and more here.
-
Piano Roll: For anyone serious about music production, the piano roll is your best friend. It lets you program melodies and chords, tweak notes, and even edit them with precise control.
Once you’re familiar with these sections, you’re ready to start creating!
Tip #1: Use Shortcuts to Speed Up Your Workflow
Speed is essential when working on a project, and FL Studio has a bunch of shortcuts that can make life easier. Instead of clicking around, memorizing a few key combinations can save you loads of time.
-
Ctrl + T: Create a new track in the Playlist.
-
Ctrl + Shift + C: Copy the current pattern to a new one.
-
Spacebar: Play or pause your project.
-
Ctrl + L: Link a selected channel to a free mixer track.
Learning these will give you a huge edge when you’re deep into a project. The less you have to navigate with your mouse, the more creative you can be.
Tip #2: Layering Sounds for Richer Textures
One of the key features of FL Studio is how easy it is to layer sounds. If you're looking to add depth to your tracks, try layering different sounds or instruments to create a fuller, richer texture.
-
Layering Instruments: Combine similar sounds, like multiple synths playing the same melody with slight variations, to create a big sound that fills the mix.
-
Using Different Frequency Ranges: When layering, try to use different frequency ranges for each layer. For example, if you're layering a bass sound, consider using a lead sound in the mid to high frequencies to keep them separate and prevent muddiness.
Experiment with layering to add dimension and make your track sound more polished.
Tip #3: Get Creative with Automation Clips
Automation is one of the most powerful features in FL Studio. It lets you control parameters like volume, filter cutoff, or panning over time, giving your tracks a more dynamic feel.
-
Creating Automation Clips: Right-click on any knob or fader and choose "Create automation clip." You’ll see the automation clip appear in the Playlist, where you can shape the changes over time.
-
Make Your Mix Move: Use automation to make gradual changes, like a slow build-up of reverb or filter sweep, to keep the listener engaged throughout the track.
Automation adds movement and flow, making your music sound more alive and evolving.
Tip #4: Understand the Power of the Mixer
The mixer in FL Studio is essential for balancing your tracks and making them sound professional. But it's not just for adjusting volume. The mixer allows you to:
-
EQ Your Tracks: Use the EQ to cut unwanted frequencies, boost certain areas of the sound, and create space in the mix.
-
Add Effects: Add reverb, delay, or distortion to give your tracks more texture and character.
-
Sidechain Compression: This is a great technique to add energy to your track, especially in genres like EDM. By sidechaining the bass or kick with the other elements, you create a pumping effect that makes the track feel more dynamic.
Spend time getting familiar with each of these aspects of the mixer to make sure your tracks sound clean, polished, and well-balanced.
Tip #5: Master the Piano Roll for Melodic Magic
The Piano Roll is one of the most powerful features in FL Studio. This is where you’ll craft your melodies, chords, and intricate musical parts. Here’s how to make the most of it:
-
Use Ghost Notes: These are faint notes from other patterns in your project that you can use as a reference. They’re great for keeping everything in key and making sure your melodies flow smoothly.
-
Utilize the Grid: The grid helps you line up your notes and makes sure they stay in sync with your beats. You can adjust the grid size based on how fine-tuned you want your notes to be.
Take some time to practice different melodies and chords in the Piano Roll, and you’ll be amazed at how quickly you can create complex parts.
Tip #6: Using the Playlist for Arrangement
Now that you’ve got your sounds, your mix, and your melodies down, it’s time to put everything together. The Playlist in FL Studio is where the magic happens in terms of song arrangement.
-
Drag and Drop Your Patterns: You can take any pattern you’ve created and drag it into the Playlist to start building the structure of your song.
-
Use Markers: Add markers for sections like the intro, verse, chorus, and bridge. This helps you stay organized and gives you a clear visual of how your track progresses.
The Playlist is your canvas, so play around with different arrangements until you find something that feels right.
Tip #7: Experiment with Sample Manipulation
FL Studio has a ton of tools for manipulating samples, and getting creative with this can lead to some awesome sounds.
-
Use Time-Stretching: FL Studio makes it easy to change the length of a sample without affecting its pitch. This is super helpful when you want to match a sample to your project’s tempo without it sounding unnatural.
-
Pitch Shifting: You can pitch samples up or down to make them fit your song’s key or to create unique effects.
Try these techniques on your samples to add character and originality to your music.
Tip #8: Final Mixing and Exporting Your Track
Once you're happy with your track, it’s time to get it ready for the world. Properly mixing and exporting your song is crucial to making sure it sounds professional.
-
Check Levels: Before exporting, make sure all your track levels are balanced. You don’t want one element overpowering another.
-
Export Settings: When you export your song, make sure to choose the right settings. For a high-quality export, select a bit depth of 24-bit and sample rate of 44.1kHz.
Once it’s exported, you’re all set to share your music with the world!
Conclusion: Keep Practicing and Experimenting
Mastering FL Studio takes time, but the more you practice and experiment, the better you'll get. There are so many techniques to explore, and as you continue to learn and improve, you’ll find your unique style and workflow. So, keep exploring, stay curious, and most importantly, have fun with it.
FAQs
1. What’s the best way to get started with FL Studio as a beginner?
Start by familiarizing yourself with the basic layout and tools. Focus on learning the Channel Rack, Playlist, and Mixer. Practice creating a simple beat and experiment with different sounds.
2. How can I speed up my workflow in FL Studio?
Using keyboard shortcuts and automation clips is key. Learn common shortcuts, and use automation to give your tracks more movement.
3. How do I layer sounds effectively in FL Studio?
Try layering similar sounds with different frequency ranges. For example, layer a deep bass sound with a high-pitched lead to create more depth.
4. What are some mixing tips in FL Studio?
Use EQ to cut unwanted frequencies, add reverb or delay for texture, and experiment with sidechain compression for a pumping effect.
5. How do I export my FL Studio project?
Once you're satisfied with your track, go to File > Export and select your export settings. Make sure to choose 24-bit and 44.1kHz for a high-quality export.





![amapiano essential sample pack download,Free Download Amapiano Log Drum Bass Pack Amapiano .WAV Samples [Works on Logic Pro ,FL Studio Abelton Live , Reason, all DAWs] Logic Pro Tutorial, free amapiano drum sample pack,Drum Loops + Construction Kit Loops Percussion Loops, Guitar Melody Loops, MIDI Melody Loops, FL Studio Fruity DX10 - Log Drum Presets Log Drums (MIDI Melody) Log Drums (Wave Audio) MIDI Snare DRum Loops + One Shots Rolls and Fills Shaker Loops Vox Chops VST Plugins Presets FX + BONUS](http://afrobeatproducers.com/cdn/shop/files/AmaPianoEssentialSamplePack.png?format=jpg&v=1701804534&width=1080)



![amapiano essential sample pack download,Free Download Amapiano Log Drum Bass Pack Amapiano .WAV Samples [Works on Logic Pro ,FL Studio Abelton Live , Reason, all DAWs] Logic Pro Tutorial, free amapiano drum sample pack,Drum Loops + Construction Kit Loops Percussion Loops, Guitar Melody Loops, MIDI Melody Loops, FL Studio Fruity DX10 - Log Drum Presets Log Drums (MIDI Melody) Log Drums (Wave Audio) MIDI Snare DRum Loops + One Shots Rolls and Fills Shaker Loops Vox Chops VST Plugins Presets FX + BONUS](http://afrobeatproducers.com/cdn/shop/files/AmaPianoEssentialSamplePackVol.2.png?format=jpg&v=1701804430&width=1080)
